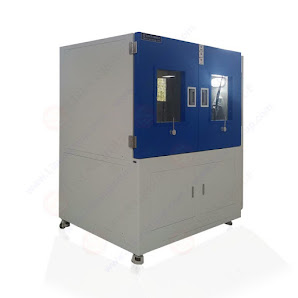
How to do dust test against LED lights with a dustproof test chamber?
In order to determine the level of resistance that LED lights have to being exposed to dust, a dustproof test may be carried out using a dust chamber. The following is an in-depth tutorial that will walk you through each stage of doing a dustproof test on LED lights using a dust chamber:
- The LED lights need to be cleaned and prepared for testing by removing any loose dust or debris. After that, the sample for the test should be prepared.
- Install the dust chamber It is important to install the dust chamber in accordance with the instructions provided by the manufacturer, making sure that all of the seals and gaskets are in the correct position.
- The chamber should be filled with a preset quantity of dust, and a dust suspension system should be used to ensure that the dust is distributed equally throughout the room before the chamber is considered complete. To more effectively imitate circumstances in the actual world, it is important to adjust both the dust concentration and the particle size.
- Install LED lights within the chamber The LED lights need to be installed inside the chamber and positioned in such a manner that they are completely exposed to the dust. For concerns of public health and safety, the power supply to the LED lights has to be turned off.
- Start the test: After the dust chamber has been sealed, you should start the test. The length of the test need to be enough to assess the performance of the LED lights over an extended period of time.
- During the entire course of the test, it should be monitored to verify that the dust concentration and particle size stay within the acceptable ranges given.
- After the test has been completed, the LED lights should be taken from the chamber and checked for evidence of dust exposure. These symptoms include clogging of air vents, corrosion, or other kinds of damage. The findings of the test should then be evaluated. Additionally, the LED lights need to be put through a series of functional tests to validate that they are still operational after being exposed to dirt.
- Make a record of the findings: It is important to make a record of the findings of the test, which should include the test settings, the performance of the LED lights, and any observations or unusual occurrences.
To summarize, doing a
dustproof test inside of a dust chamber is an efficient method for determining
the LED lights' ability to withstand the effects of being exposed to dust. By
adhering to these guidelines, manufacturers may improve the robustness and
dependability of their LED lights even when used in dusty situations. In
addition, manufacturers may use this test to discover regions of their LED lights that can be upgraded to better resist the effects of dust exposure, so
improving both their overall performance and their dependability.

.jpg)
Comments
Post a Comment